Behind the Scenes: What Do We Mean by "Made by Hand"? (Part 1: Casting)
Sep 23rd 2022
If you’re familiar with Danforth, you’ve probably heard us say that we make everything we sell by hand. But unless you’ve been to our workshop or seen our videos, it can be hard to picture what that means. How exactly can a pewter ornament—or netsuke, or gnome, or earrings—be handmade?
It’s a great question. Our products don’t exactly “look” handmade, so it can be hard to imagine the process. Let’s take a walk through the Danforth workshop and see exactly what handcrafted means.
Casting Pewter
Jewelry, ornaments, magnets, keyrings, charms, netsukes, photo frames, pins—these are made by a process called casting. This was the speciality of Judi Danforth, one of the two founders of Danforth Pewter. Her expertise in and passion for casting pewter is the foundation for much of what you see at Danforth today.
Here’s how the casting process goes:
1. First, the Design
All of our new designs start in-house, coming from customer suggestions, employees, brainstorming sessions, and inspiration from nature and the world around us. The design process is led by Tim Copeland, our lead designer, with input from the marketing team, leadership team, and production. (To learn more about that process, check out The Making Of Our 2022 Annual Ornament).
In this process, Tim not only considers the creative side of a potential product; he also manages much of the technical side. That is, he works with our mold makers and model finishers to refine the design, taking into consideration the thickness of the pewter, the size of different gaps in the design, how ribbons can attach, how an ornament will hang, and more.
2. From 2D to 3D: Creating a Model
Once the design is approved, Tim gets to work creating a model. For this, he uses one of several tools:
- 3D printing, an additive process that builds a model from scratch
- A CNC mill, which carves away pieces of a raw material such as froggy board or butter board until the desired shape is reached. (Exactly like Michelangelo carving away every part of the stone that was not David!) This is often the method of choice for our ornaments because it gives a level of intricate detail unattainable through other methods.
- Hand-carving from wax. This is exactly what it sounds like. Tim usually opts to do this for fully 3D products, like netsukes and gnomes, because it gives him more control over the figurine’s most distinctive shapes, such as their faces or hats.
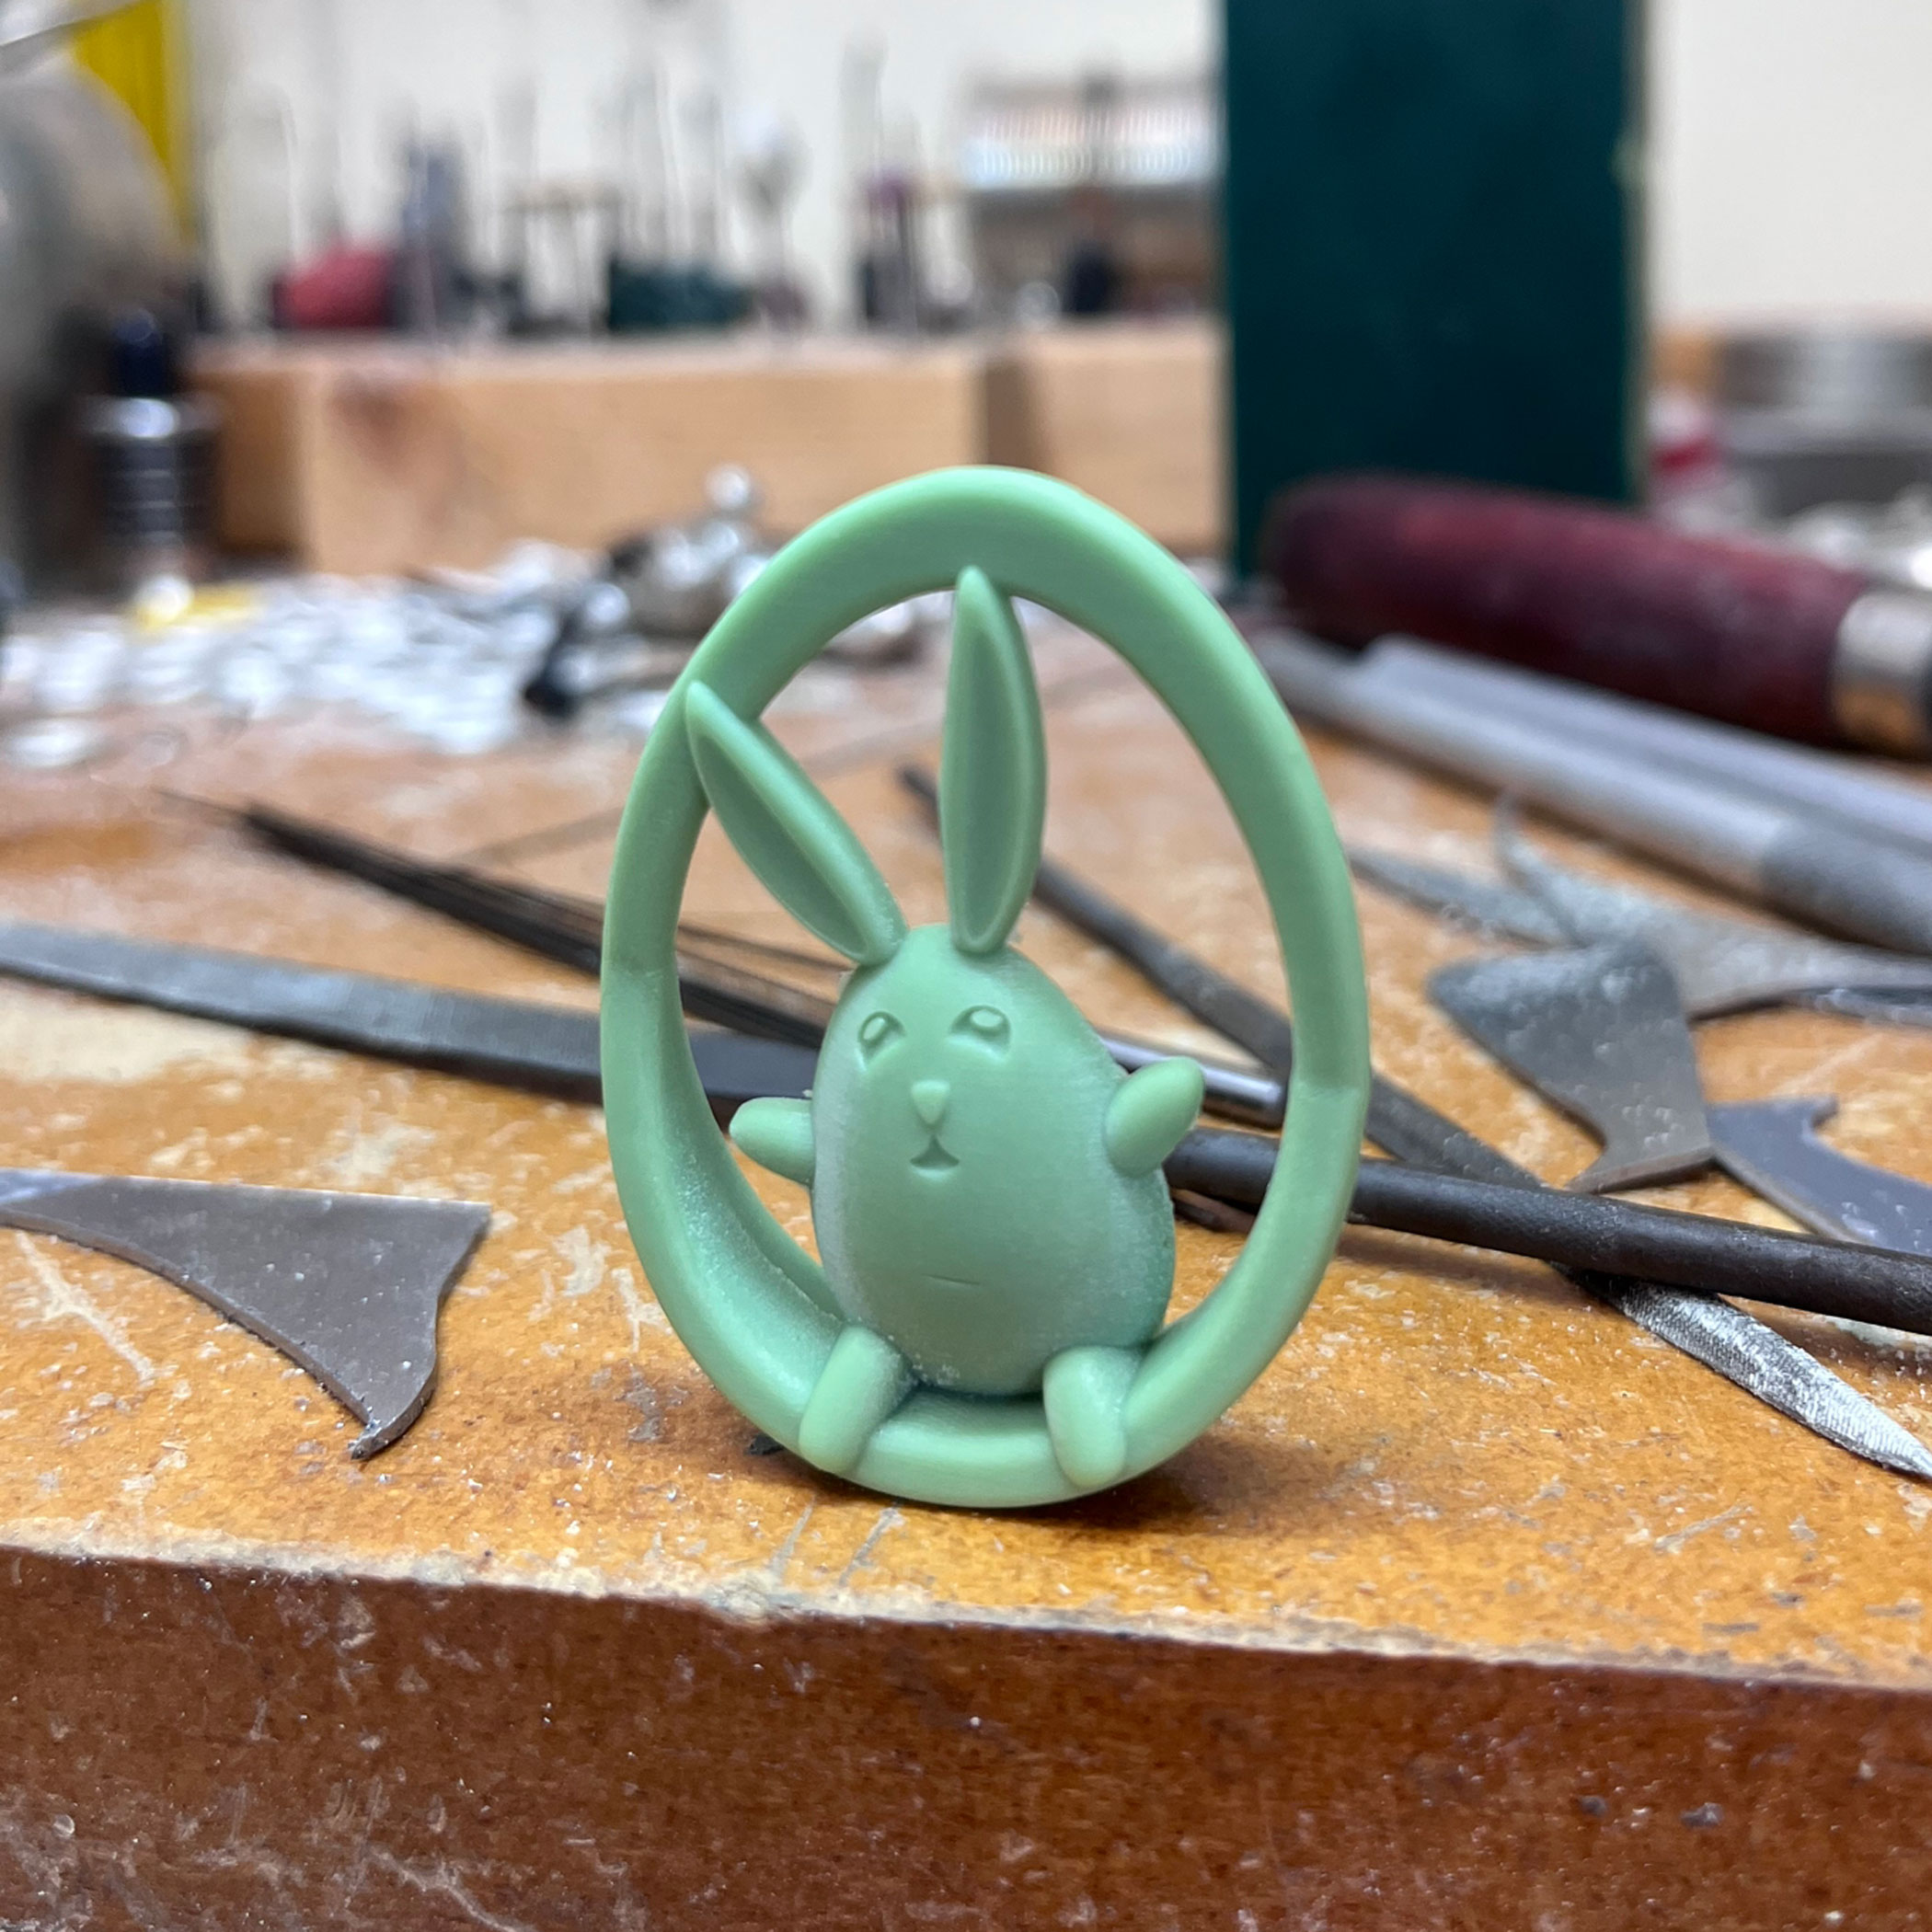
As with any creative process, each step involves making adjustments as we go, to make sure we create the best possible end product. We may find that the design won’t come out of the mold easily, or that an ornament doesn’t hang correctly, or something may just not look right. When that happens, Tim goes back to the drawing board, or he problem-solves on the fly, and/or consults with Carla, our mold-maker, who’s an expert on the capabilities of pewter. (She’s been doing this since Fred and Judi first founded Danforth Pewter back in the 70s, and her encyclopedic knowledge of casting pewter cannot be overstated.)
3. From Wax to Pewter: Making a Mold
Once he has a finished model, Tim passes it to Carla. Now it’s time to make a mold.
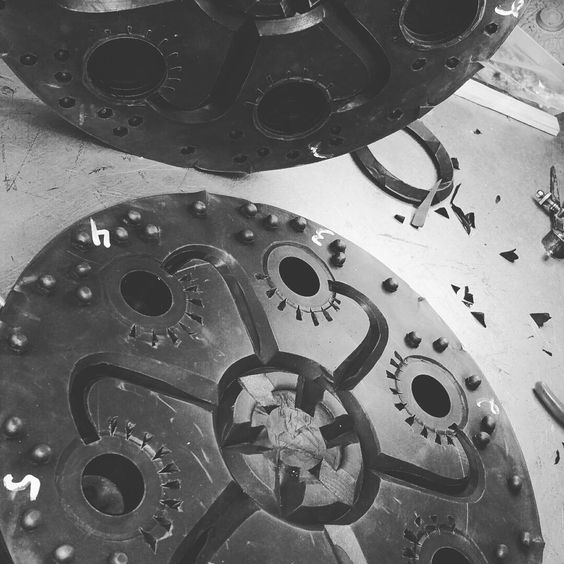
To do this, Carla arranges the model into black rubber discs and vulcanizes them. This means that the rubber is heated and flows around the model, hugging every crevice and becoming the inverse, or the negative, of the shape. When it cools, the rubber wheels have strength and flexibility as well as the precise shape of the new design. This is now what we call the “mother mold.”
From the mother mold, we make the master models, which are the first pewter prototypes of the product.
Tim’s original model often doesn’t survive the mold-making process, but that’s ok, because these new pewter molds are now cleaned up and pressed into yet another mold. This, then, becomes the final mold which will go to make actual products.
(Fun fact: This is the same process used to make car tires!)
In every mold that she makes, Carla must hand-carve channels from the mold to the rubber disks’ edges that allow the molten pewter to flow in and for air to vent. This is an artful, highly technical task that requires extreme concentration, skill, creativity, and expertise. It takes hours per mold; it can take up to a full day to make just one.
4. Casting in Pewter
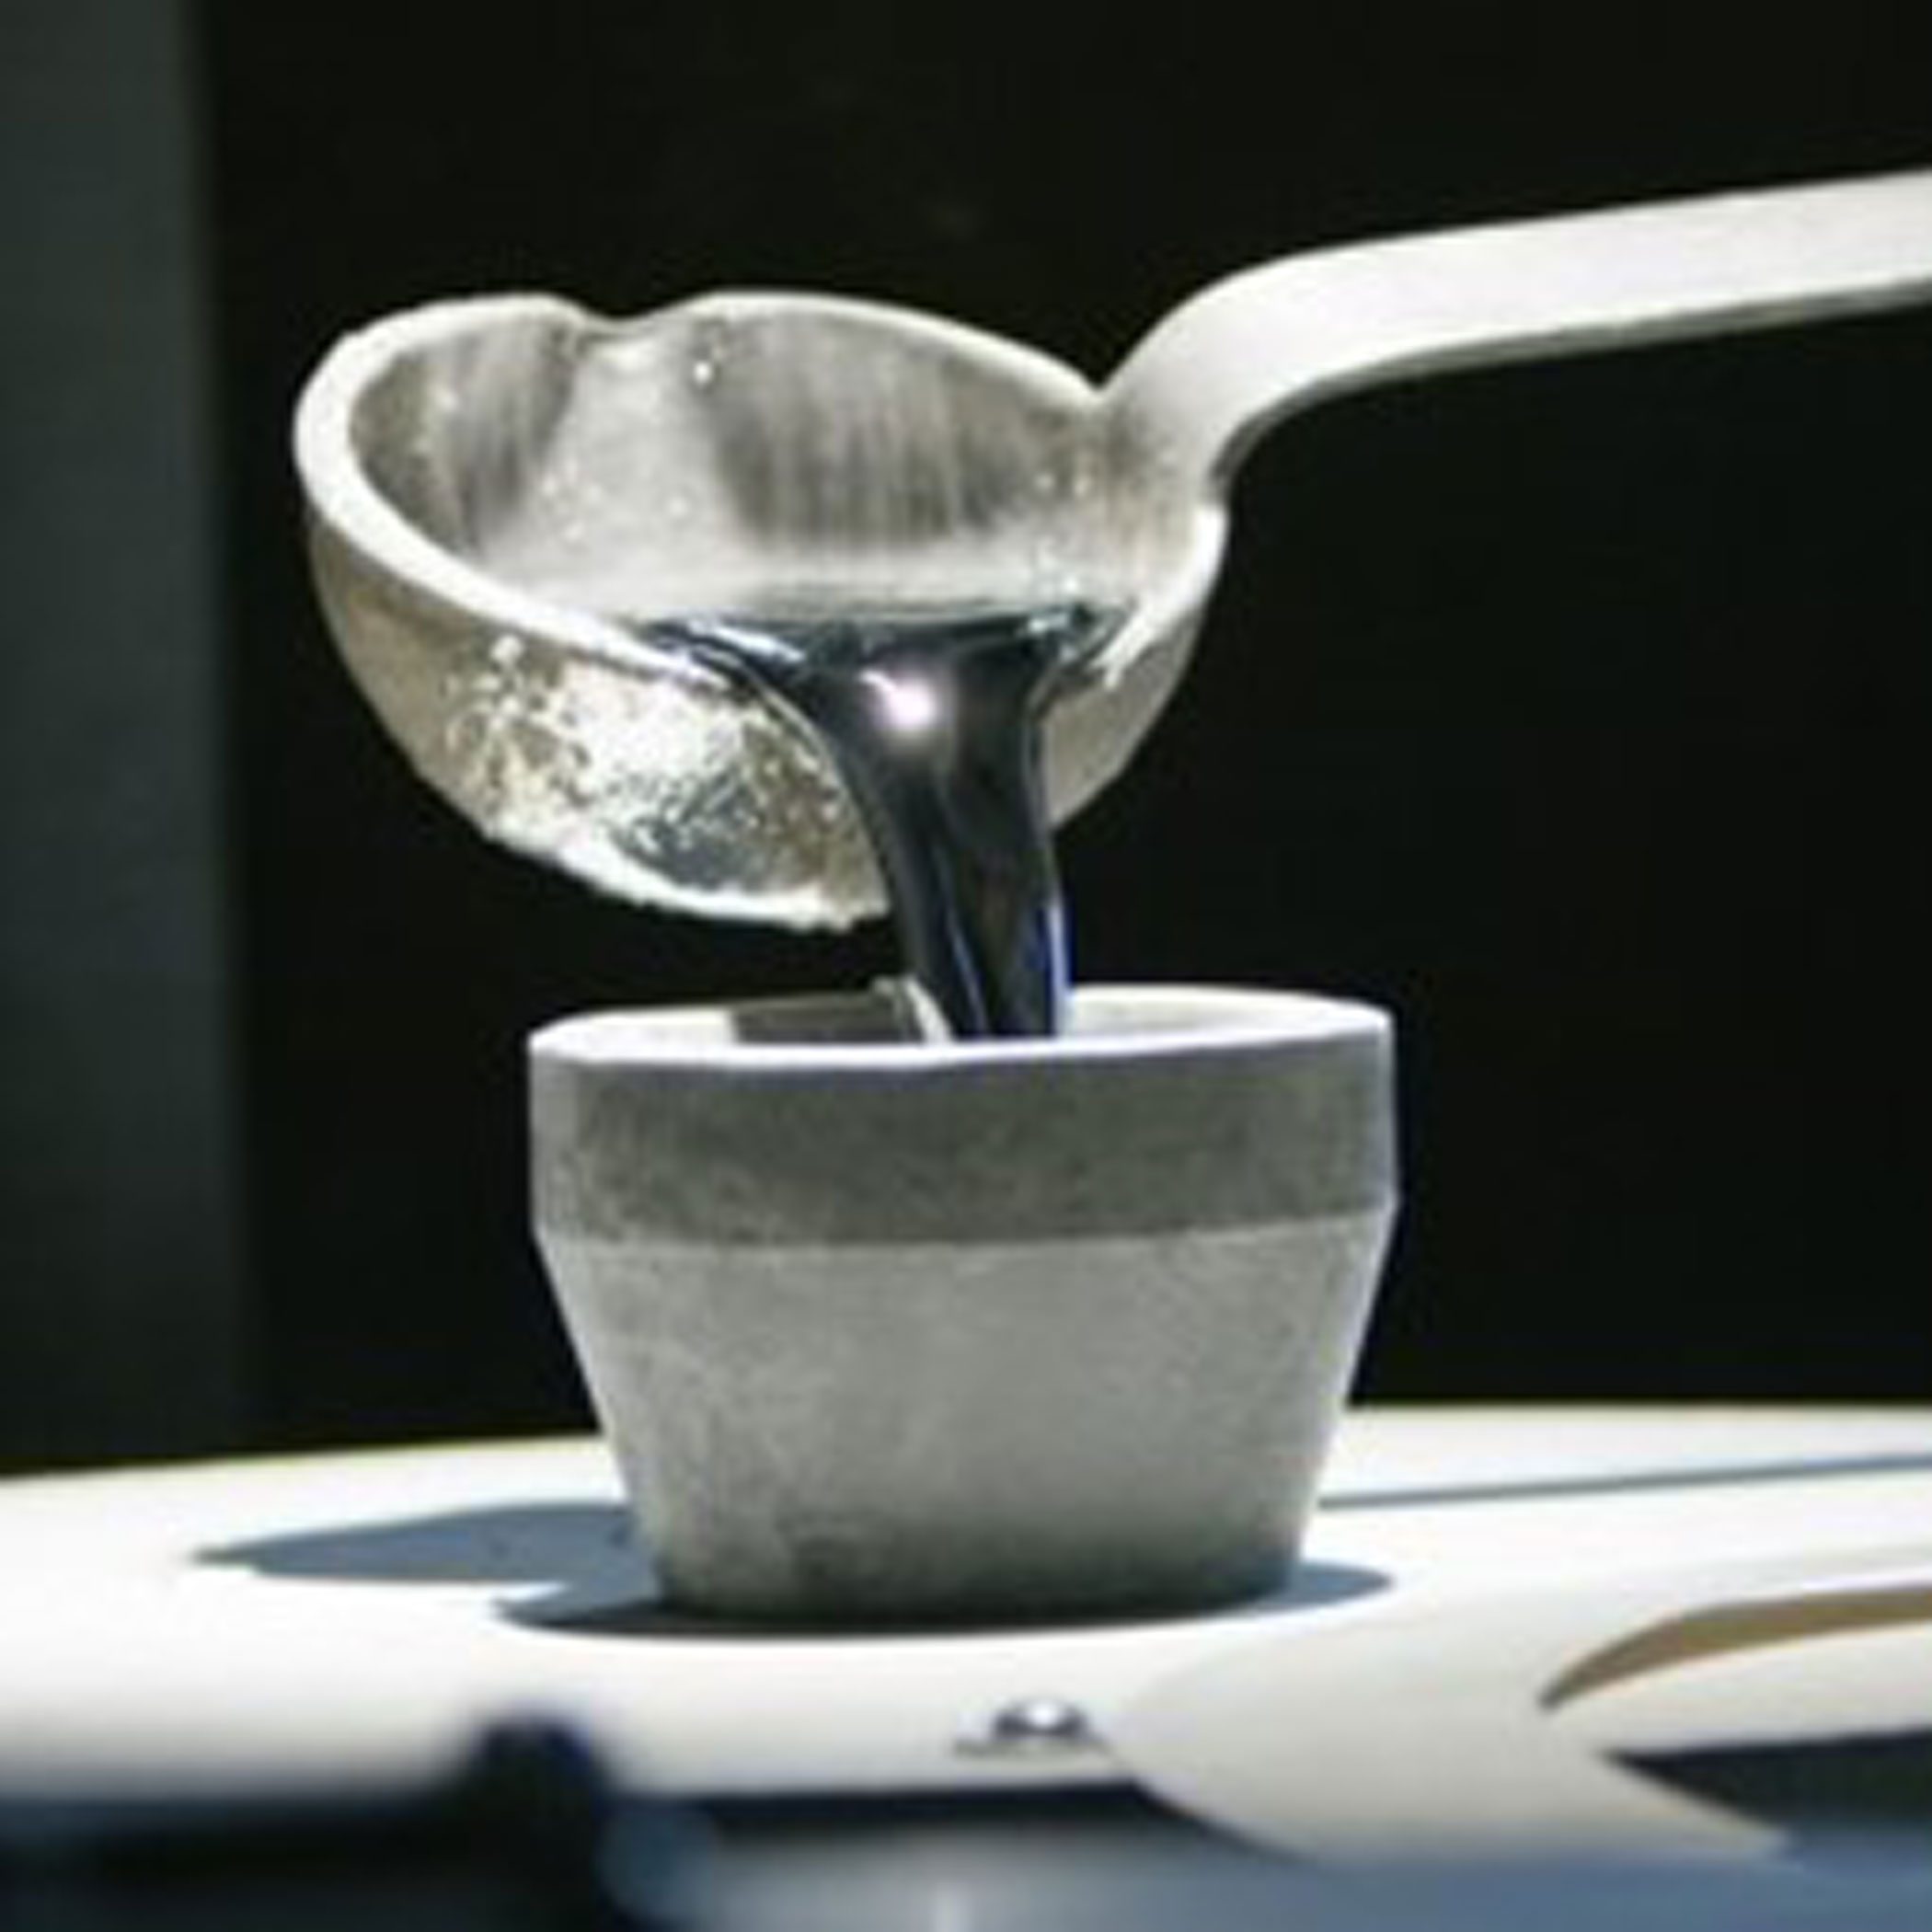
Carla passes the molds to our casters, who fit them into the casting machines. The casting machines spin the disks at high speeds while hot molten pewter is poured in from the top.
The hot pewter, which is liquid at 450 degrees, flows into the center of the mold. Because of centrifugal force due to the spinning, it fills each nook and cranny of the mold.
Once the mold is full of pewter, it slowly winds down. The casters remove it from the machines and give it about 2-3 minutes to cool and harden.
But they’re still not ready yet.
5. The Art of Finishing
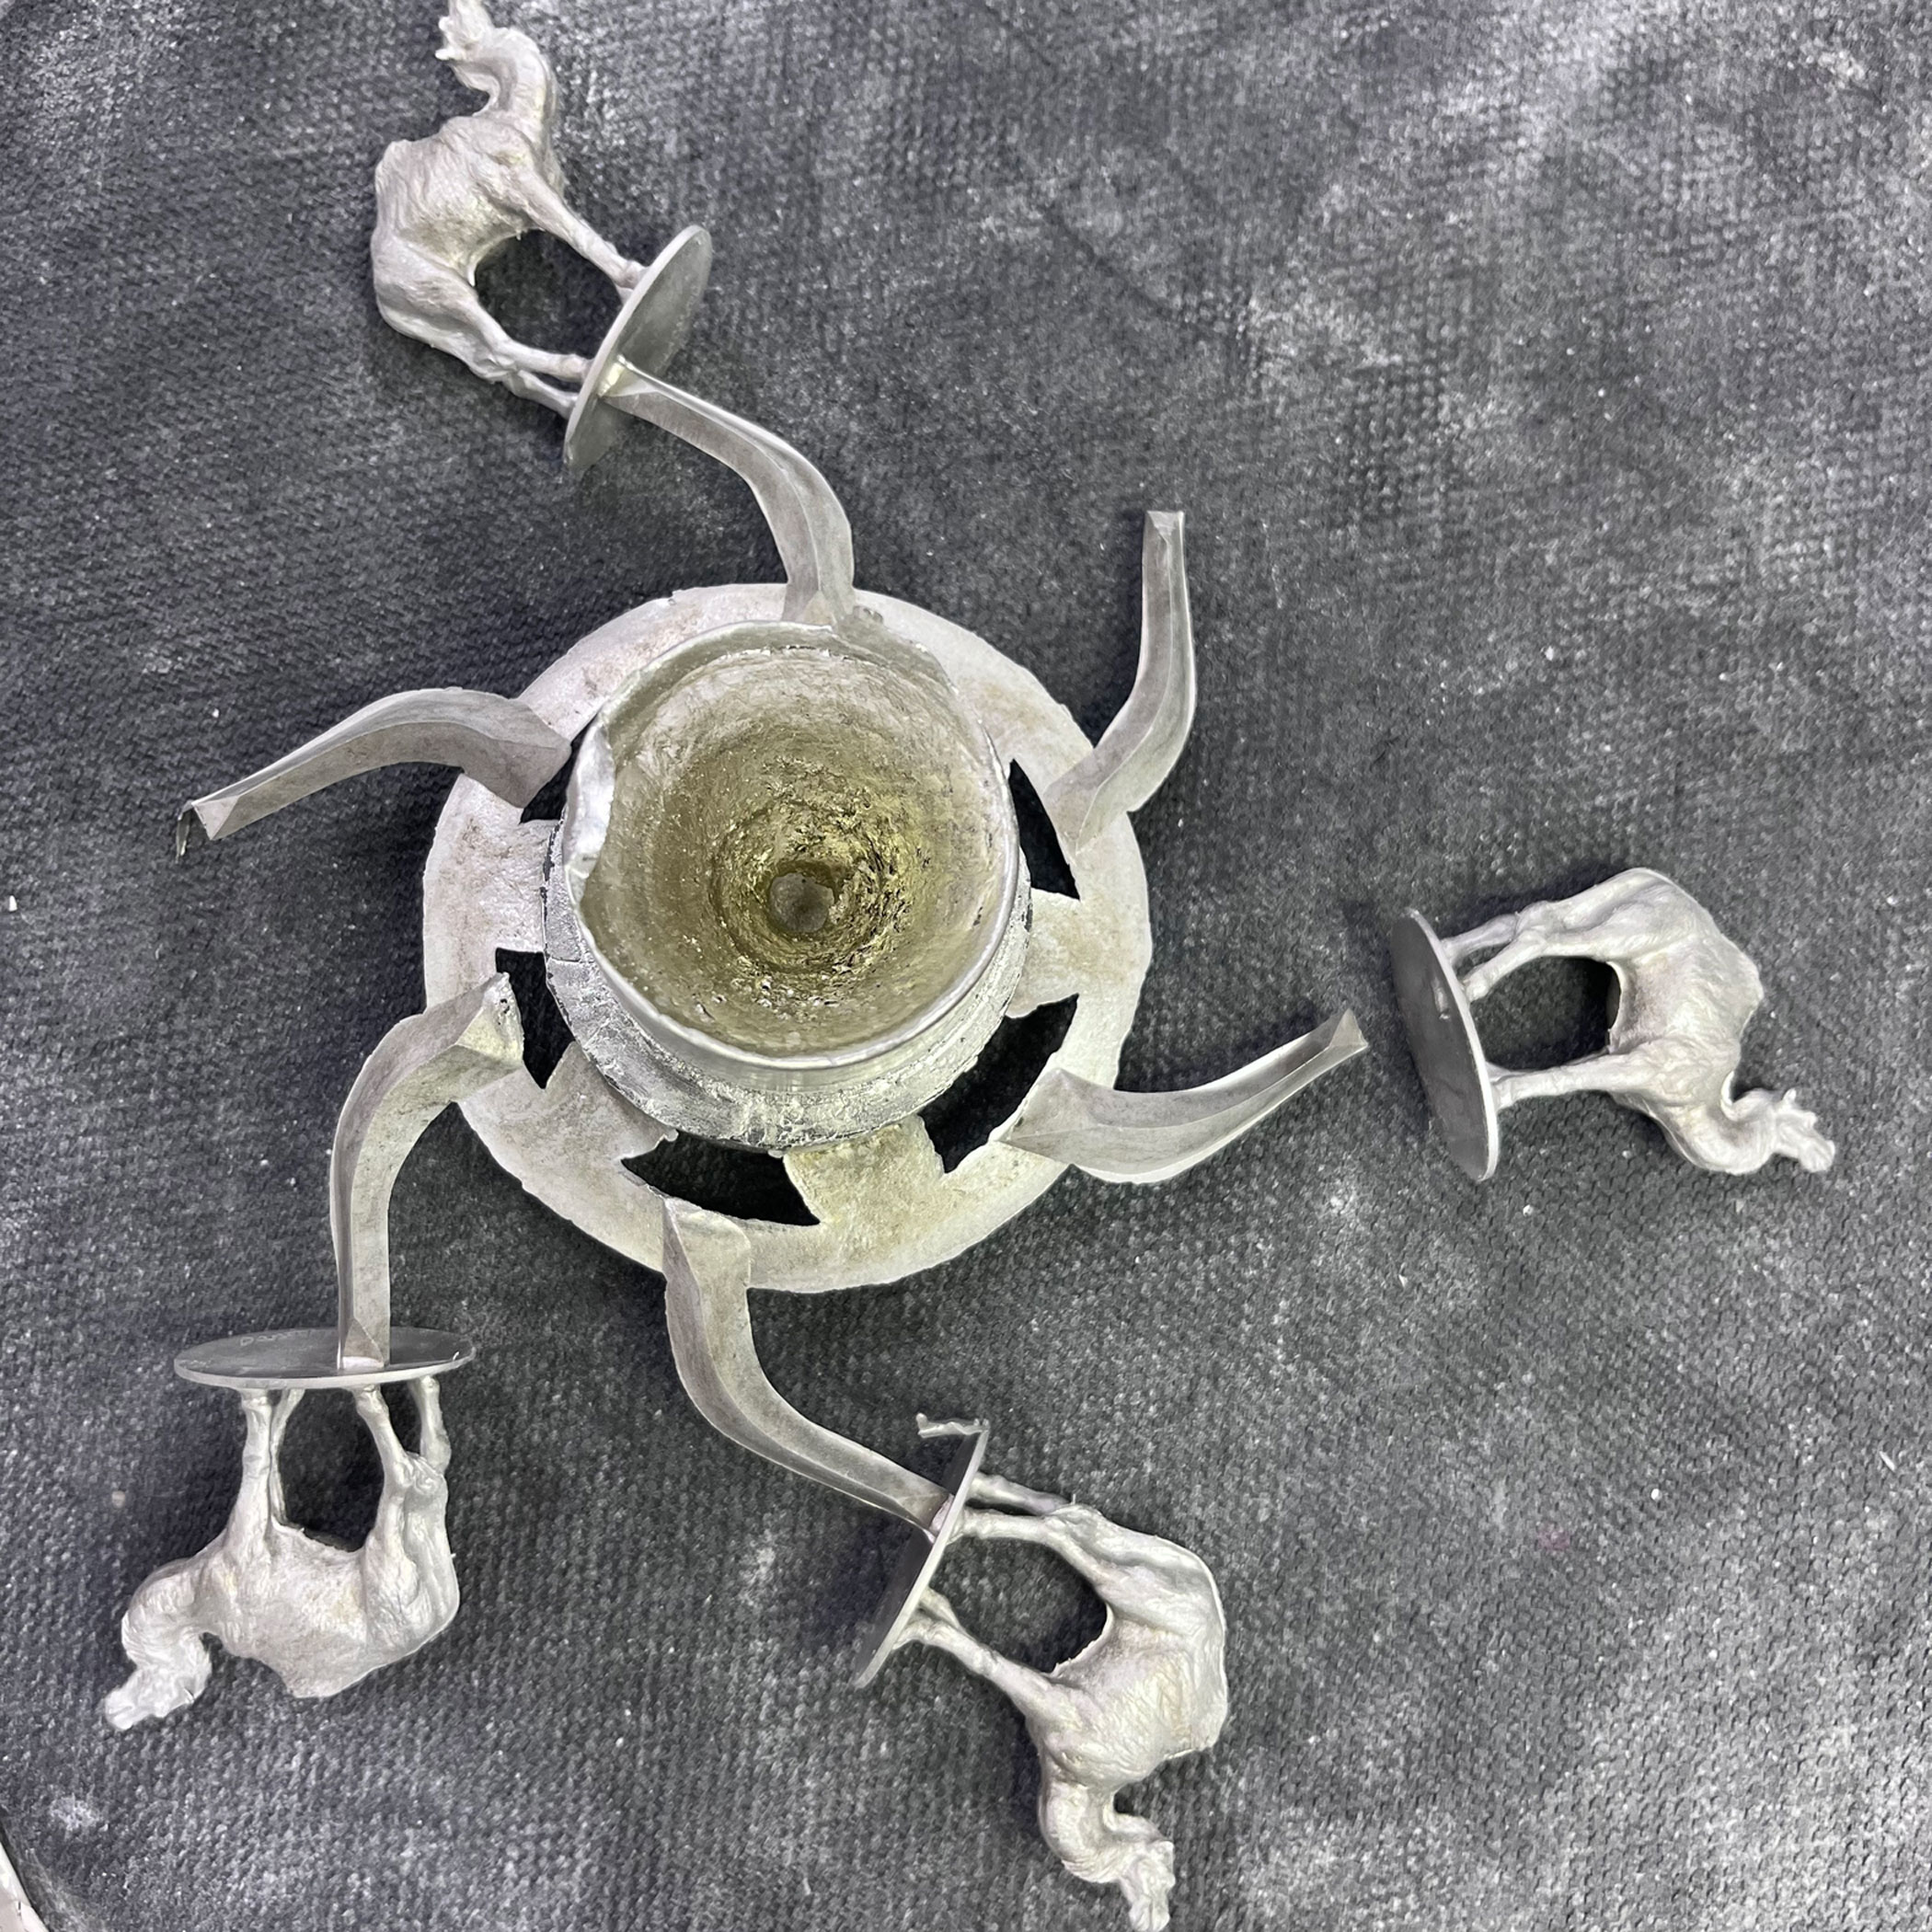
When the pewter is cool, our casters open the molds and carefully pull out the pewter pieces, which are all connected with tines radiating out from the center. It looks like a big snowflake. (Did you ever picture that your Camel Nativity figurine was once part of a giant pewter snowflake?)
The casters then break off the thin pewter rods that connect each piece, snapping them off with a gentle bend. They throw the rods back into the vat of pewter to be reheated and poured into a mold, which means those rods become the next netsuke or ornament! This is one of the benefits of working with pewter: it can always be melted down again and recast, which means we generate almost zero pewter waste. Similarly, if a piece comes out flawed—for example, if the pewter didn’t fill the mold completely—we can just throw the piece back into the pot and start over.
After they come out of the mold and pass the quality test, each piece goes to the prep department for finishing.
The talented folks in prep use hand tools like files and sandpaper, as well as power tools like sanding belts, to clean up the rough edges of each piece, left from where the rods broke off.
6. Mitiquing and Tumbling
Now, each piece is dipped in a solution that turns the pewter black. This is called “mitiqueing” (pronounced my-TEEK-ing), and this is what gives our products a unique Danforth look, different from other pewter companies. Every pewter workshop has a different process for finishing, which is why pewter can look very different depending on who is working with it.
The pieces emerge from the solution totally black, and then they go through a series of vibratory tumblers filled with ceramic beads. These work like the rock-tumbling machines you might have had as a kid. This stage removes the black material as well as the outside surface of the pewter. The process is like sanding, where you start with a heavy, course grit and gradually get finer.
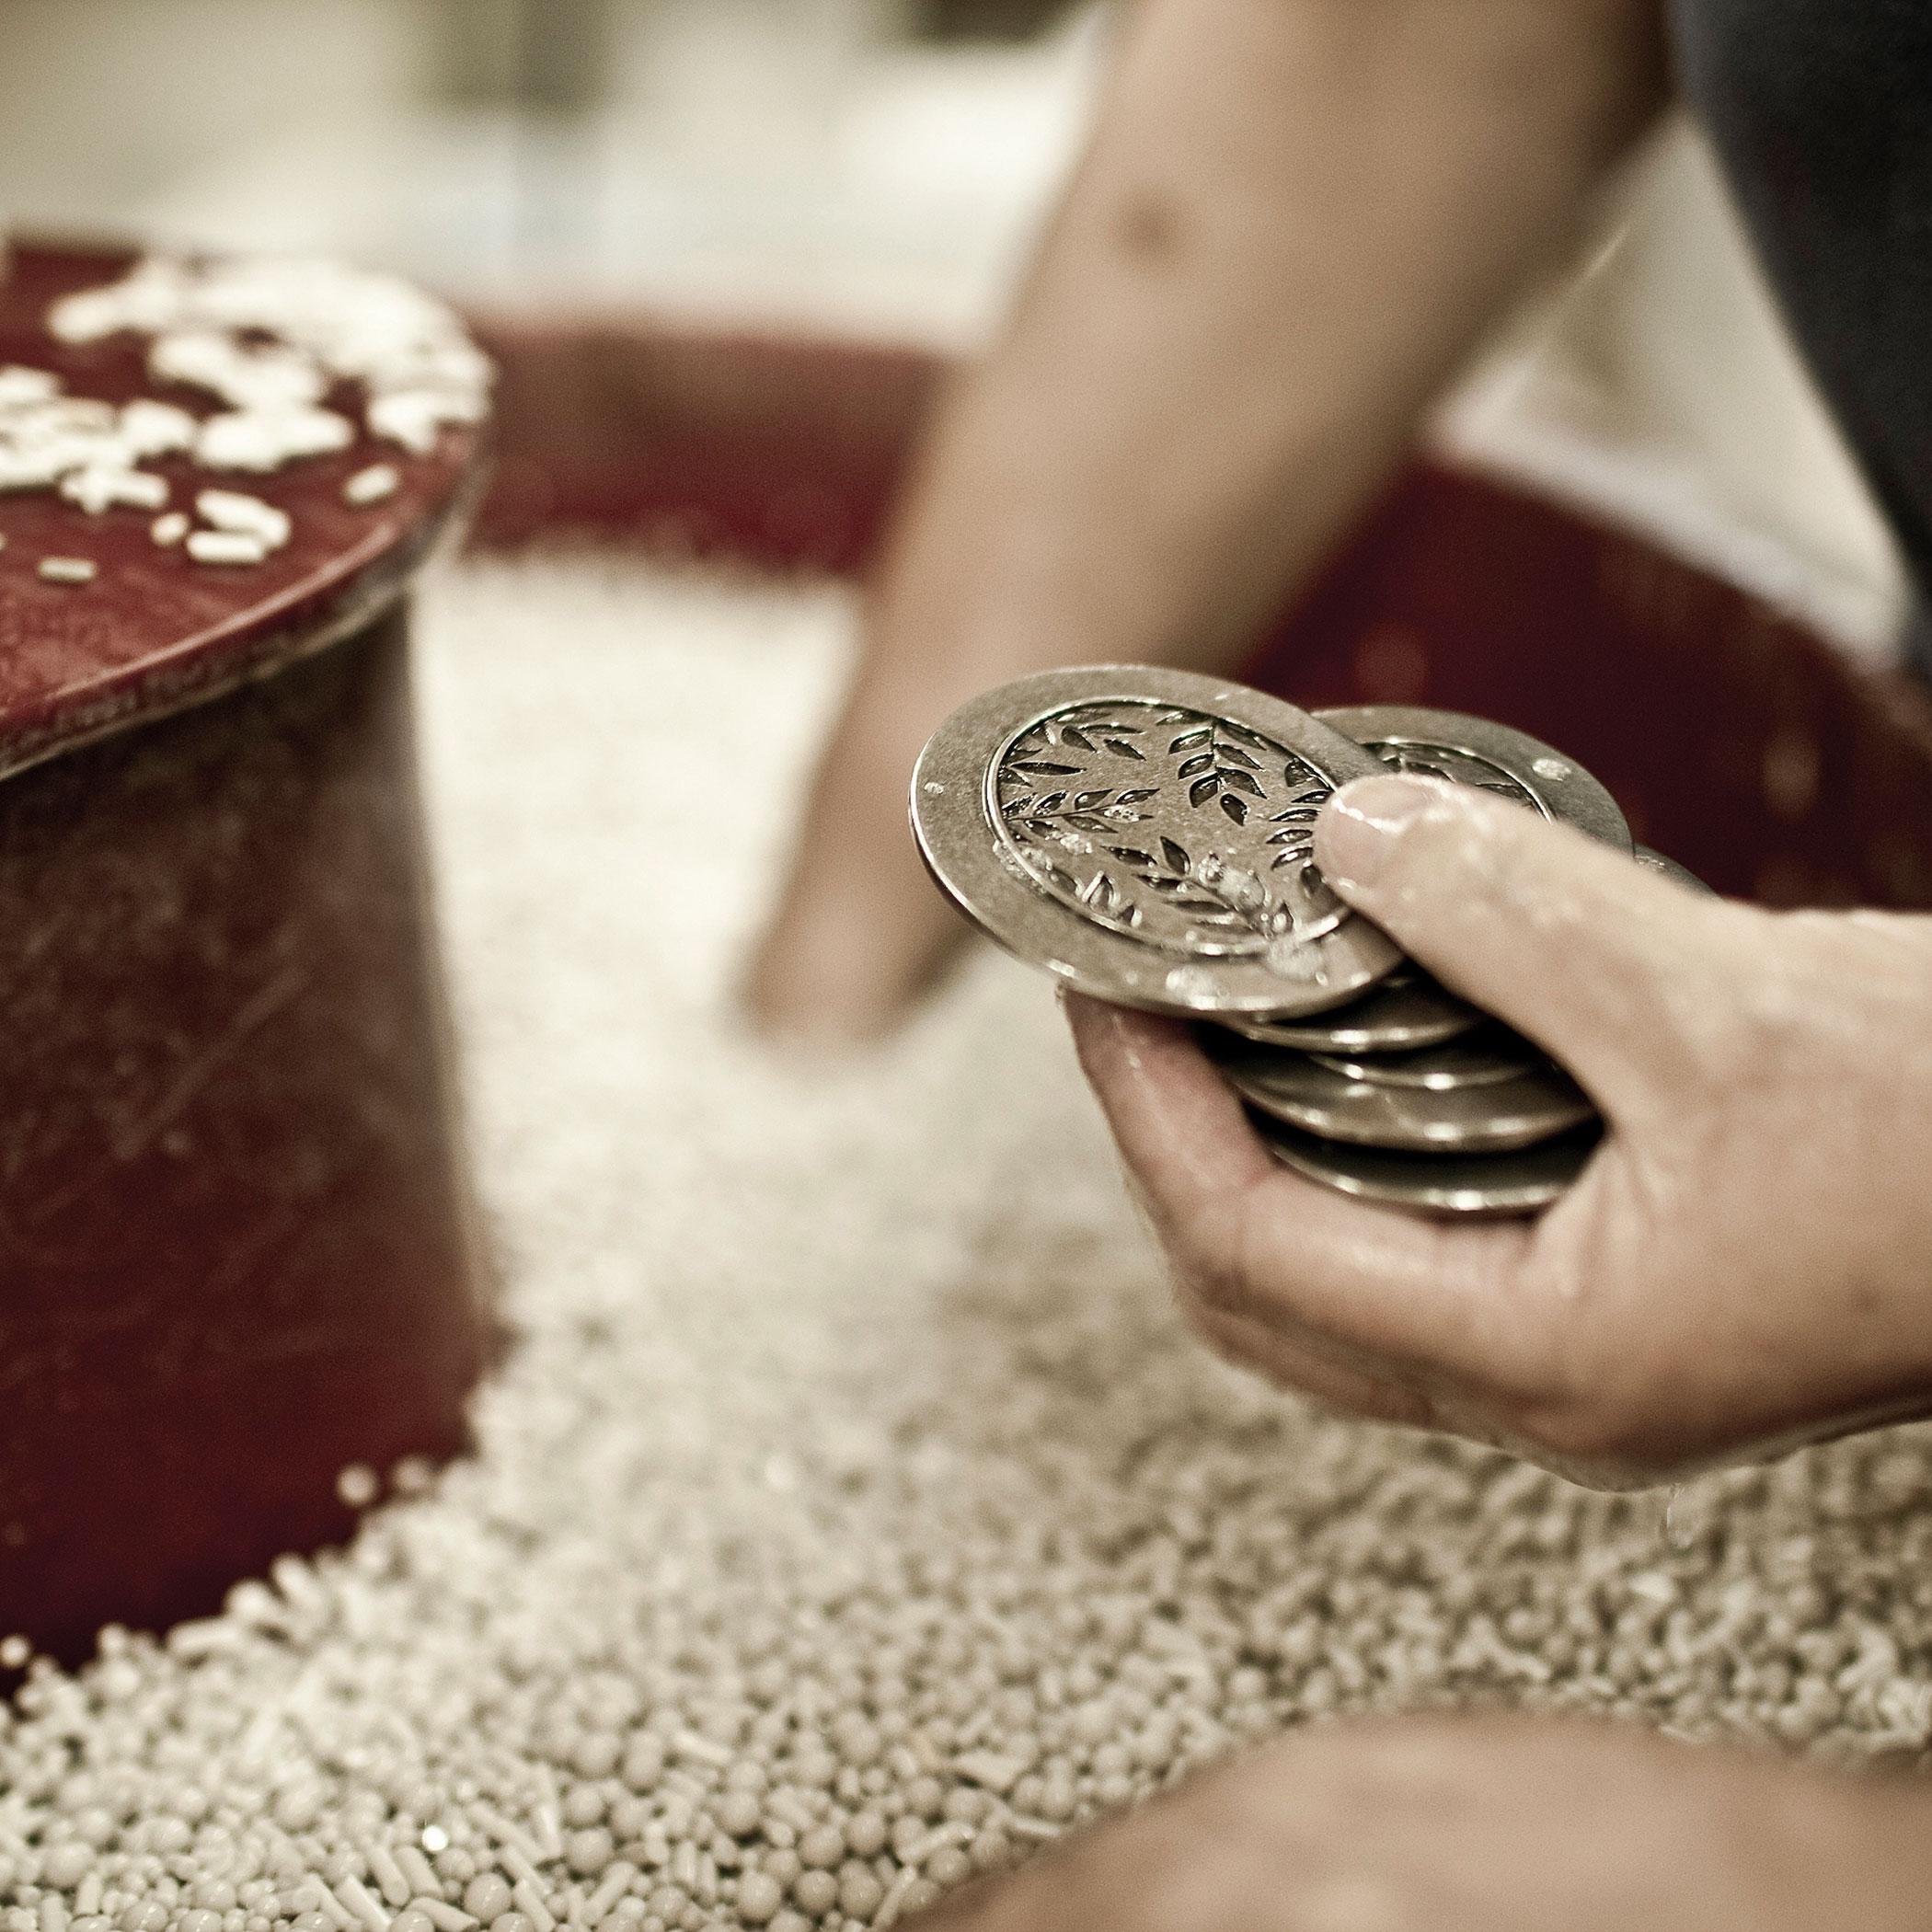
When they come out of the tumblers, the black solution is left only in the nooks and crannies, creating a contrast with the shiny silvery surface. This also allows any text, words, and finely intricate areas, such as the gnomes’ faces, to show off their details.
7. Adding Color
If a piece gets color, like the Oceansong jewelry or Best Friends frame, it will go to the epoxy room, where the color is painted on by our talented color artists. (Yes, each and every stroke of color is applied by hand.) The pieces are then cured in a small low-temp oven, which takes about 1-2 hours, or they can cure naturally overnight.
8. Almost there: Assembly
At this stage, each item gets whatever assembly it requires: jewelry gets chains and clasps; ribbons are tied onto ornaments, picture frames are fitted with their backs. If a piece requires engraving, it will be sent over to Dorian at the engraving machine, where he’ll add your special names, dates, and sayings.
(If you’ve ever wondered why we don’t offer same-day shipping, it’s because all these steps are physically done by hand, every day, with every order. You can see how why can’t be rushed!)
The final stage of assembly is packaging. Just a few steps away from where each piece is first cast, now it is carefully laid into its navy blue Danforth box, ready to be shipped to your home.
9. Last step: Shipping
Finally, each boxed item moves to the shipping station, where our team ensures that each one is addressed and shipped out.
We Work Metal by Hand
We hope that by taking this virtual walk through our workshop, you’ve gained a clear understanding of what we mean by “made by hand.”
We take pride in every step of our work, and we hope that knowing its story adds depth and value to your Danforth pieces. Whenever you scoop your coffee with your Whale Tail Scoop, or hang a Bird Ornament on your Christmas tree, or play with your Wobble Bunnies during a long work meeting, we hope you remember that every gift you give and receive from Danforth was made with love, by many talented hands.


